6.1.7. Plate Sequence
Plate Sequence will print one line after another with each line at different row and eventually forms a plate. Its menu is shown as follow:
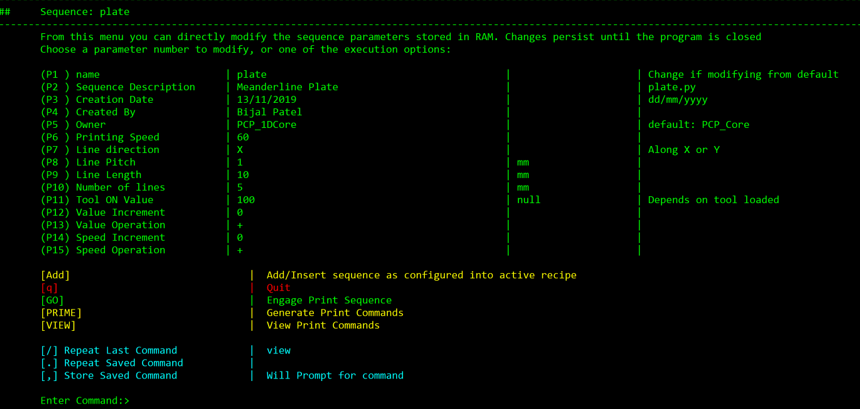
P1 through P5 inform users the basic information of the line sequence. P6 controls moving speed of axes when printing. P7, line direction, controls the direction each line is printed. If it is set x, straight lines will be printed in x direction and axes will move line pitch distance in y direction after the completion of each line. In order to form a plate with not no gap present between lines, P8 should be set to the width of each line. If P7 is set to y, straight lines will be printed in y direction with axes moving line pitch distancing in x direction after each line to create plate. P9 controls how long each line should. P10 is how many lines the sequence is going to print. The sequence also allows altering of print speed or tool value after completion of each line. For example, by setting P14, speed increment, to 10 and set P15, speed operation, to +, printing speed value will be added by 10 after each line. This works the same for tool value increment Currently, four speed operations are available, +, *, -, /. But please note that having large value of increments could let to value out of bound and damage machine. Users should have a roughly estimating of the final value of speed and tool value before printing.
Tool ON, Tool OFF, PRIME, VIEW, and GO commands have been described in user guide 6.1.1 and 6.1.2. Please see them for more information.