2. Installation and Setup
2.1. Requirements/Supported OS
PCP3 is designed to run on Windows and Linux distributions with Python 3 on even very low spec hardware. At the end of the day, for just sending commands between hardware, there really isn’t much you need in terms of specialized system specs. Just serial ports that can be connected to your desired hardware.
In our lab, we have run PCP3 on Debian 9/ Mint 19 Linux PCs and on Windows 10 using Ananconda as the python environment.
2.2. Installing Anaconda (optional)
To use polychemprint3, you need to have a python 3 environment set up. If you are on Linux, your distribution most likely has python 3 installed out of the box. If not, a simple way to set things up is to use Anaconda, a free and open source python distribution comonly used in data science.
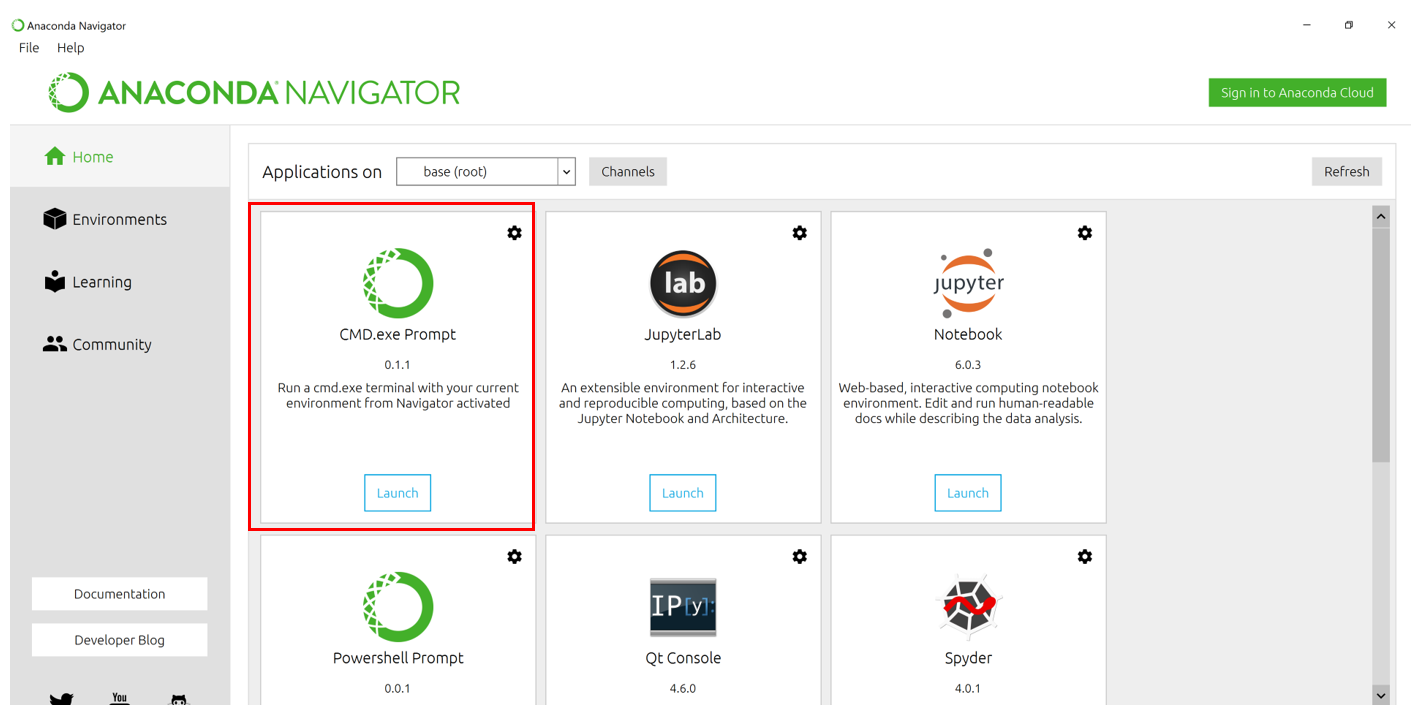
After successfully installing Anaconda, open Anaconda Navigator and launch anaconda prompt. Boxed in red below:
2.3. Installing PCP3 from PyPi via pip
After opening the appropriate terminal window (Anaconda Prompt/Terminal/Command Prompt), enter:
pip install --no-cache-dir --pre --upgrade polychemprint3
Press enter and polychemprint3 should install with any required dependencies automatically.
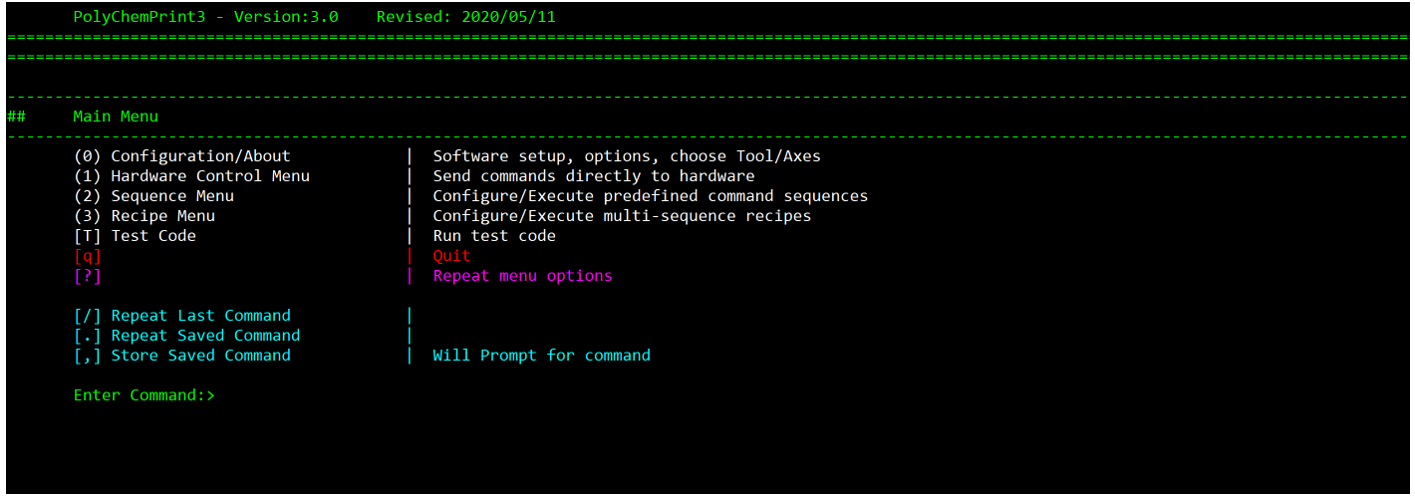
To run the program, just type
polychemprint3
into the terminal window and the program should launch
2.4. Run from Source (from Github)
All source code (for PCP3 and this manual) is posted on github at https://github.com/BijalBPatel/PolyChemPrint3 . Three branches are maintained:
- Master: The main stable release
- Beta: A test release which may have new features we are testing. This is the version we run in our lab.
- Dev: Testing release for new and semi/not working features.
If you are new to github, there are many quick tutorials online - such as this.
2.5. Setting up new Hardware
PCP3 as written uses pySerial to communicate with hardware devices. To add a new tool, begin by cloning and renaming one of the existing tool.py files in the polychemprint3/tools directory. We will then go line by line and replace comment text and parameters such as device address, baudrate, etc with the values that correspond to your particular hardware. Here we highlight key parameters to change:
- In the __init__ method, set the devAddress, baudRate, commsTimeOut, and other parameters to reflect your hardware.
- Next, go through each of the methods (activate, deactivate, engage, disengage, setValue, startSerial, etc), and write the necessary code to complete the communication loop with your hardware. If your device has a simple arduino based controller, these methods may be very simple (see Laser6W.py). If the device uses a special packet-based protocol, this can be more challenging, but see ultimusExtruder.py for a good example of this.
- No matter what, make sure the methods specified in the toolSpec.py abstract base class are filled out in your new code file.
- Once the tool.py file is complete, restart PCP3 and check that it properly is loaded [the starting load text will indiciate “PASS” for both conditions.
2.6. Modifying Marlin Firmware
If you are using a consumer 3D printer for your motion axes, there is a high likelihood you will need to modify the stock Marlin firmware to work with PCP3. Our main goal is to force the command acknowledge statement “ok ….” to only be sent from the printer AFTER all motion steps are complete. If you are running on Linux, you may also need to change the firmware baudrate for compatibility. Here is how:
Download the Marlin firmware source files either from your printer manufacturer’s webpage, or from the main Marlin Firmware webpage
If you are getting firmware from the Marlin site, see if you can find the configuration files for your printer in the MarlinFirmware Github folder that corresponds to your printer.
Dowload arduinoIDE and from Tools -> Boards -> Board Manager install the RAMBo board files.
Open all of your Firmware files in arduino IDE by running the Marlin.ino file in the Marlin folder.
If necessary, in the conditionals.h file, set the baudrate to your desired value.
Navigate to the Marlin_main.cpp file and find the “process_next_command()” method. At the very end of this method (see image), add the following statement:
stepper.synchronize(); //PAUSES UNTIL MOTION COMPLETE BEFORE SENDING OK

Compile as hex and export
Use a program such as cura to load your new firmware onto your printer.
Note: Be sure to save the old firmware, you will need it to go back to normal FDM 3D printing.